

Project: DIY Build of a Simple Rocker Plate
“How are you supposed to know what it feels like without having experienced it?”
People keep asking us whether building a rocker plate (similar to the SprintBoard) is really as time-consuming or complicated as it seems.
The answer is no. In principle, anyone could build their own rocker plate — given the time, the motivation, the space, the right tools, and a minimum of handyman skills.
An alternative might be your neighbor, a friend, a carpenter’s shop, or the DIY store with their wood-cutting service.
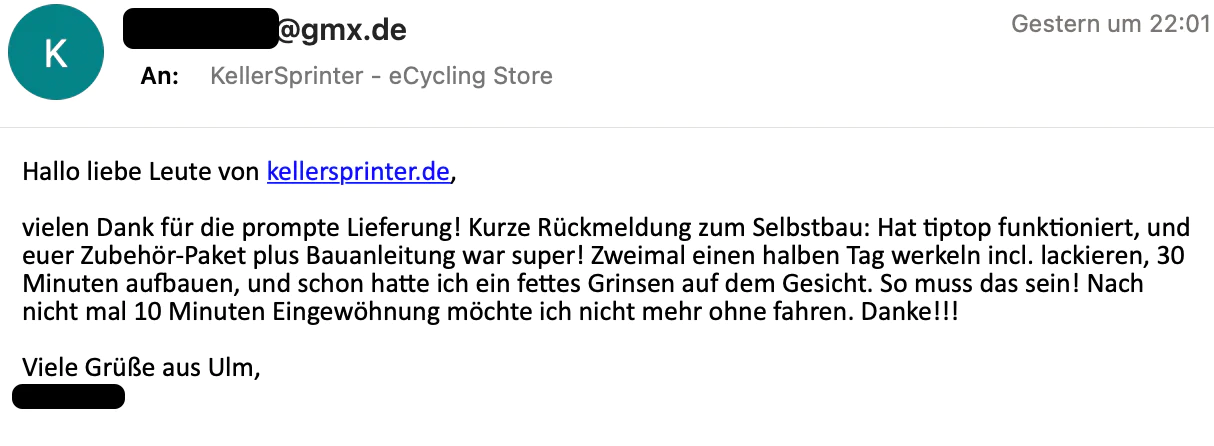
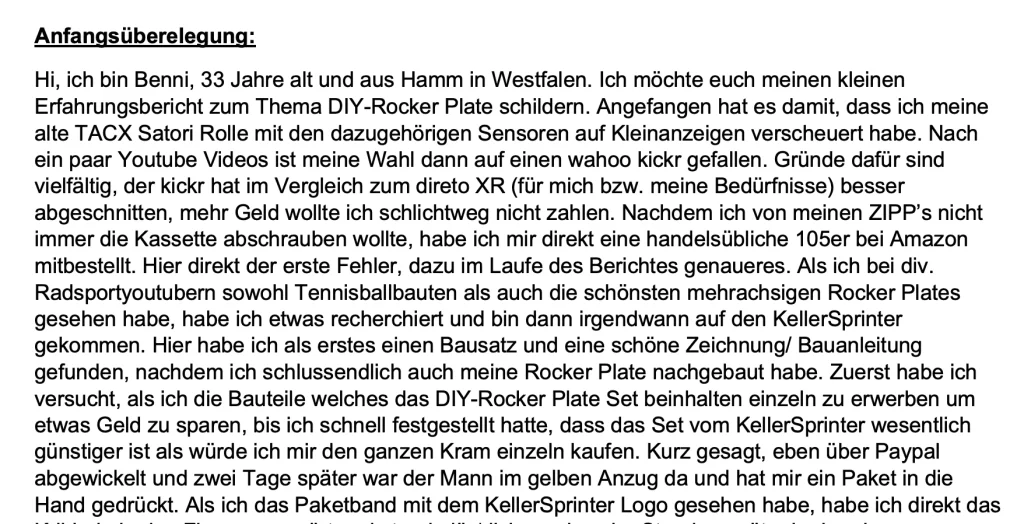
Benjamin from Hamm sent us a detailed account of his own build. We think it’s a great motivator to get your own hands dirty (full PDF download here)
Sure, you can just order a finished rocker plate and have it shipped, but if your fingers are itching to build something yourself — or if you’re short on cash — the DIY route is the way to go.
A quick word on how rocker plates are built and how they work: The literal German translation of “rocker plate” is “wobble board” — but that doesn’t really describe what it does. Lots of things wobble. Rocker plates in this context tilt along a rotation axis from left to right, supporting out-of-the-saddle motion. That means your trainer isn’t just sitting on a board with a few balls underneath that don’t really do much — instead, the rider (including bike and trainer) swings/tilts evenly left and right along a rotation axis. The balls cushion the lateral tilting motion gently and optimally support the return upward. To supposedly save money, some people use tennis balls. Unfortunately, they have two critical drawbacks:
-
- the small ball has far too much compression, which leads to a kind of “bouncing.” A smooth, controllable motion is nearly impossible.
-
- the pressure can’t be regulated, so the flywheel weight of a trainer (except the Tacx Neo family) can’t be balanced. The same applies when using springs instead of balls.
A word on the one vendor who uses steel springs: Regardless of where the springs are placed (closer to the rotation axis or all the way out), the ride feel is much harsher than with balls, because they’re preloaded with way too much compression and push back upward too aggressively. For beginners that hardly matters — at least something is “moving.”
Over the years we’ve run multiple tests with different balls and springs. Initially with tennis balls, then with various inflatable ball types.
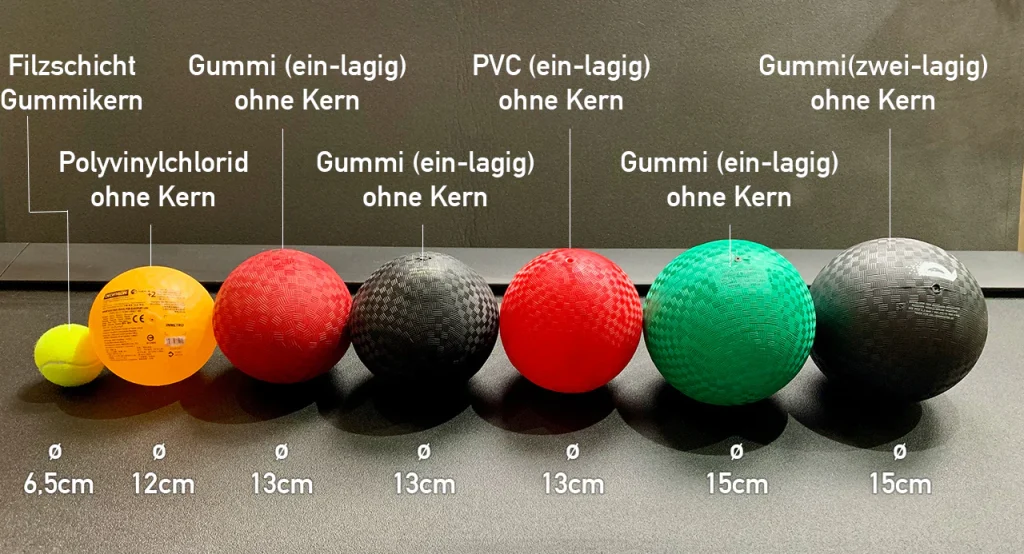
What matters is the size of the balls (ideal diameter = 15cm to 18cm at a 5cm gap between plates) and the material (polyurethane vs. solid rubber). None of the balls available on the market convinced us (too small, too much compression, poor quality, etc.), so we eventually decided to have them manufactured to our own spec. Either way: inflatable rubber balls around 6 inch/15cm or 7 inch/18cm in diameter work best.
OPTIMAL BALL PRESSURE
There is no universal pressure that’s optimal for every rider! A widespread myth that the pressure depends on rider weight is just plain wrong.
The optimal pressure depends mainly on the stability of your hips — your core. Based on input from plenty of riders, we can offer some rough guidelines. For simplicity we relate it to annual outdoor mileage. Keep in mind that (ball) pressure gauges aren’t calibrated consistently across brands, so there can be variation.
In general: The more pressure in the balls, the less movement — and the fewer the positive effects, up to the point where using a rocker plate becomes pointless. The less pressure, the more mobile the ride on a rocker plate feels. Increased mobility amplifies the benefits: less pain, less stress on the frame — and more power out of the saddle, thanks to stronger lateral hip engagement.
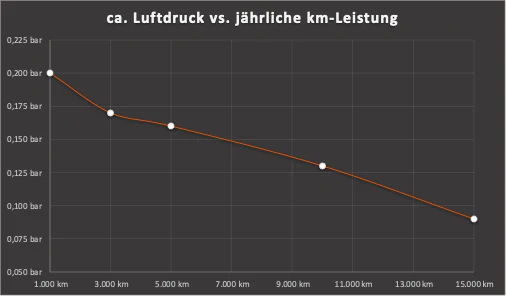
Approximate pressure in the right* ball (opposite the flywheel) vs. annual km ridden
Beginners or low-mileage riders will feel stable on a rocker plate with higher pressure of around 0.2 bar. The higher your annual km count — or with additional focused core training — the pressure can be reduced down to just under the 0.1 bar mark. Note that these pressure recommendations apply to the right ball (installed) with no rider and no counterweight (if used). The pressure in the left ball can be higher, depending on how you want to offset the trainer’s flywheel weight (via higher pressure or via a counterweight).
LESS IS MORE
Do not build a large, continuous rocker plate unless you want to put a KickrBike, NeoBike, or some other ‘monster’ on it! They’re just too sluggish. With small plates you get much better control while riding, and the motion is much more dynamic (plus the wood is cheaper). The argument that a big plate works better with the Wahoo Kickr Climb is wrong too! The Kickr Climb moves on its own regardless of whether a rocker plate is used or not. It just needs to be at the same height as the trainer — meaning a front wheel riser (see below) has to be used anyway. The Kickr Climb is not — and must not — be additionally fastened; it stands freely on the front wheel riser.
WHAT DO YOU NEED TO BUILD A ROCKER PLATE?
-
- Wood: Don’t use cheap materials like MDF or OSB — they swell too quickly when moisture gets in and deform too fast under load. For price-performance, plywood / film-faced plywood (Birch plywood) works best. To make zero compromises on stiffness and strength, our bottom plate is 1.5cm thick and the top plate 1.8cm.
-
-
Hardware:
-
- 3 rubber vibration isolators (also called anti-vibration mounts) — ideally 50mm tall
-
- 6 screws, ideally countersunk screws so they don’t stick out.
-
- 2 inflatable balls (the bigger the diameter, the more comfortable the ride) plus a ball pump. You can get the balls from e.g. Betzold. I have no affiliation with them, but I’ve ordered their balls myself for testing and found them very good.
-
- 2 or more hook-and-loop straps, alternatively cable ties, plus strap clamps to connect the straps to the board and fix the trainer in place.
-
-
Important: The full hardware kit is no longer available! You’ll need to source all the parts yourself — e.g. via eBay, Amazon, or specialty dealers.
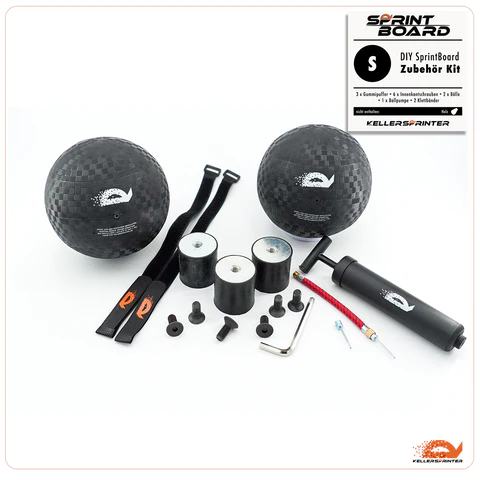
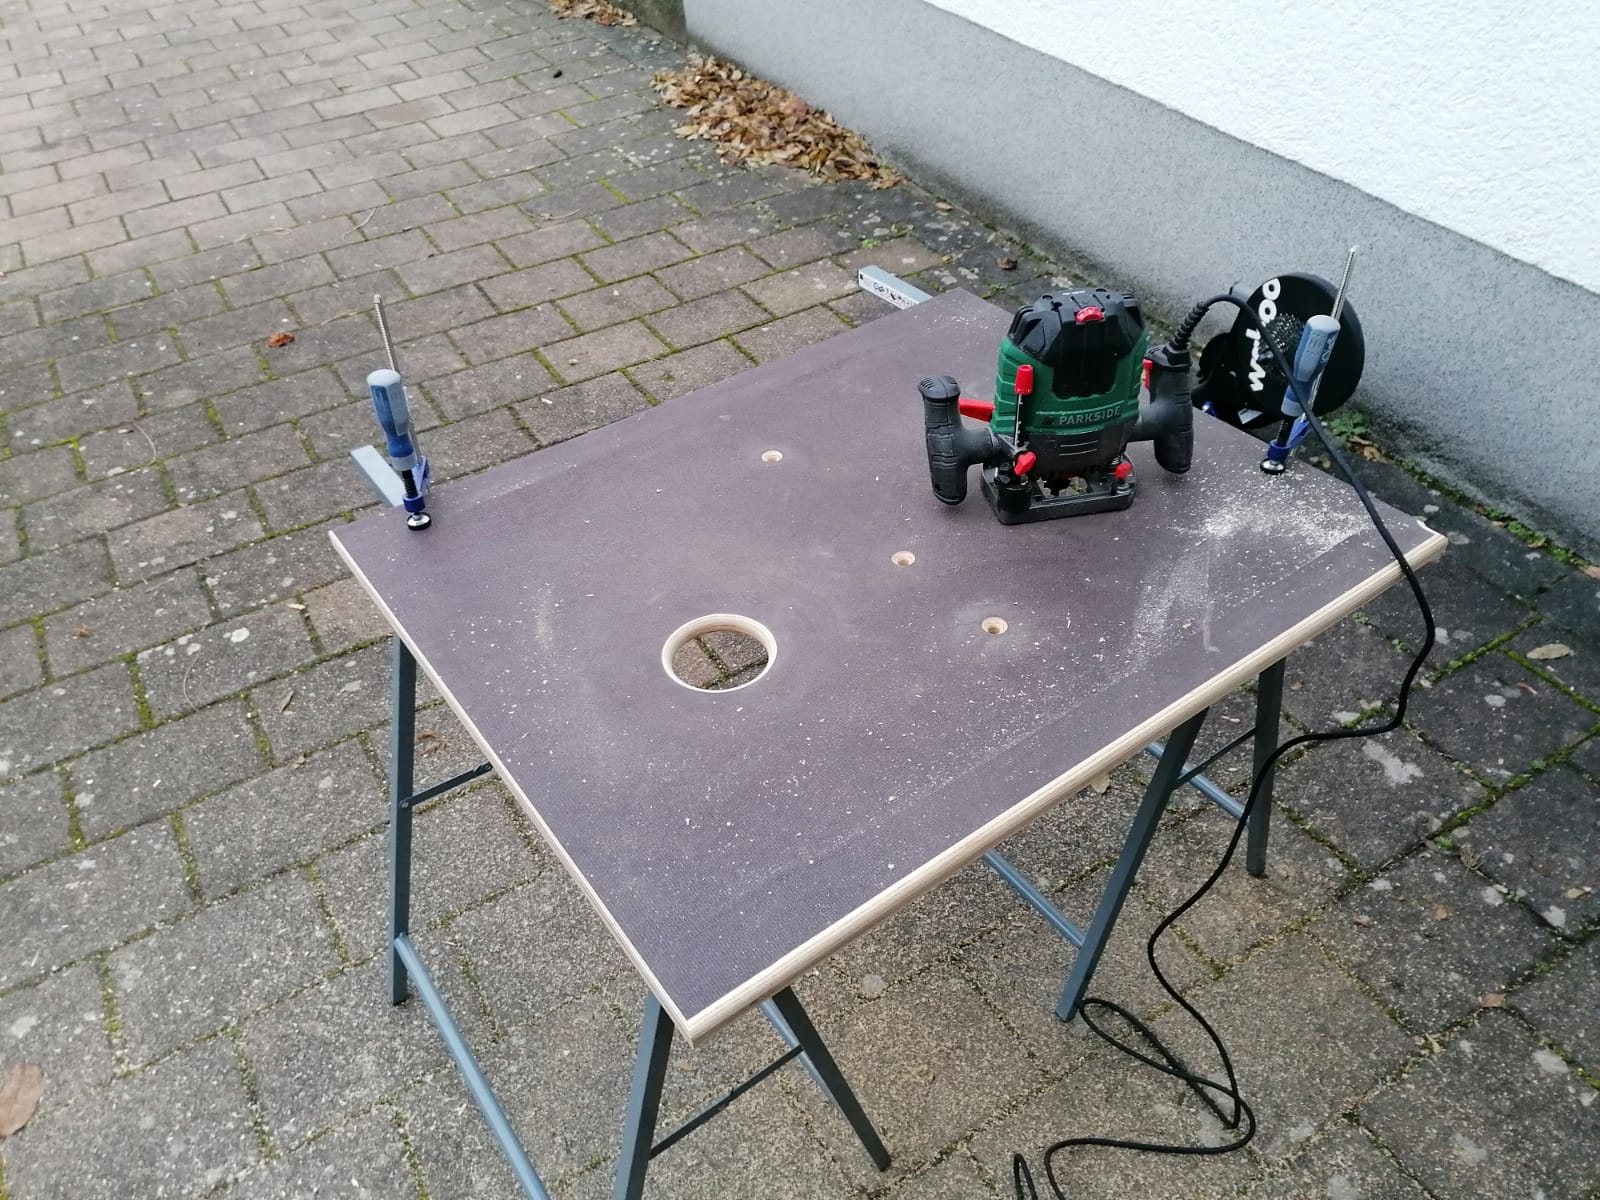
Once you’ve cut the two wood panels to the right length and width, routed/cut out the two round holes for the balls, and drilled the 3 (or 6, with the bottom plate) holes for the rubber vibration isolators, you can get started on the build itself.
For the size of the wood panels, orient yourself primarily around the footprint of your trainer. Here are a few examples (width x length with legs open — per manufacturer specs):
| Brand | Model | Size (legs open) Width x Length |
| Tacx | Neo / Neo 2 / Neo 2T | 75 cm x 57.5 cm |
| Tacx | Flux | 65 cm x 67 cm |
| Wahoo | Kickr & Kickr Core | 72 cm x 54 cm |
| Elite | Suito | 67 cm x 59 cm |
| Elite | Drivo | 57 cm x 64 cm |
| Elite | Direto / DiretoX / XR | 65 cm x 84 cm |
| Saris / CycleOps | H2 & H3 & H4 | 79 cm x 50 cm |
If your trainer isn’t listed, check the manufacturer’s site, or just grab a tape measure and measure the footprint with the legs open.
The rocker plate design below is kept universal, so all the trainer types listed above will fit. That means with a wood panel width of about 80cm, you can fit nearly every modern direct-drive trainer as well as most wheel-on trainers on this simple rocker plate. You can add a “safety margin” on both sides if needed, because the bike — not the trainer — should sit centered on the board. Every trainer has an offset, and you’ll need to compensate for it. The length in this example is fixed at 65cm to cover all the trainer models listed above. And so we don’t smash our ankles on the corners when mounting and dismounting, we round them off by about 2-5cm.
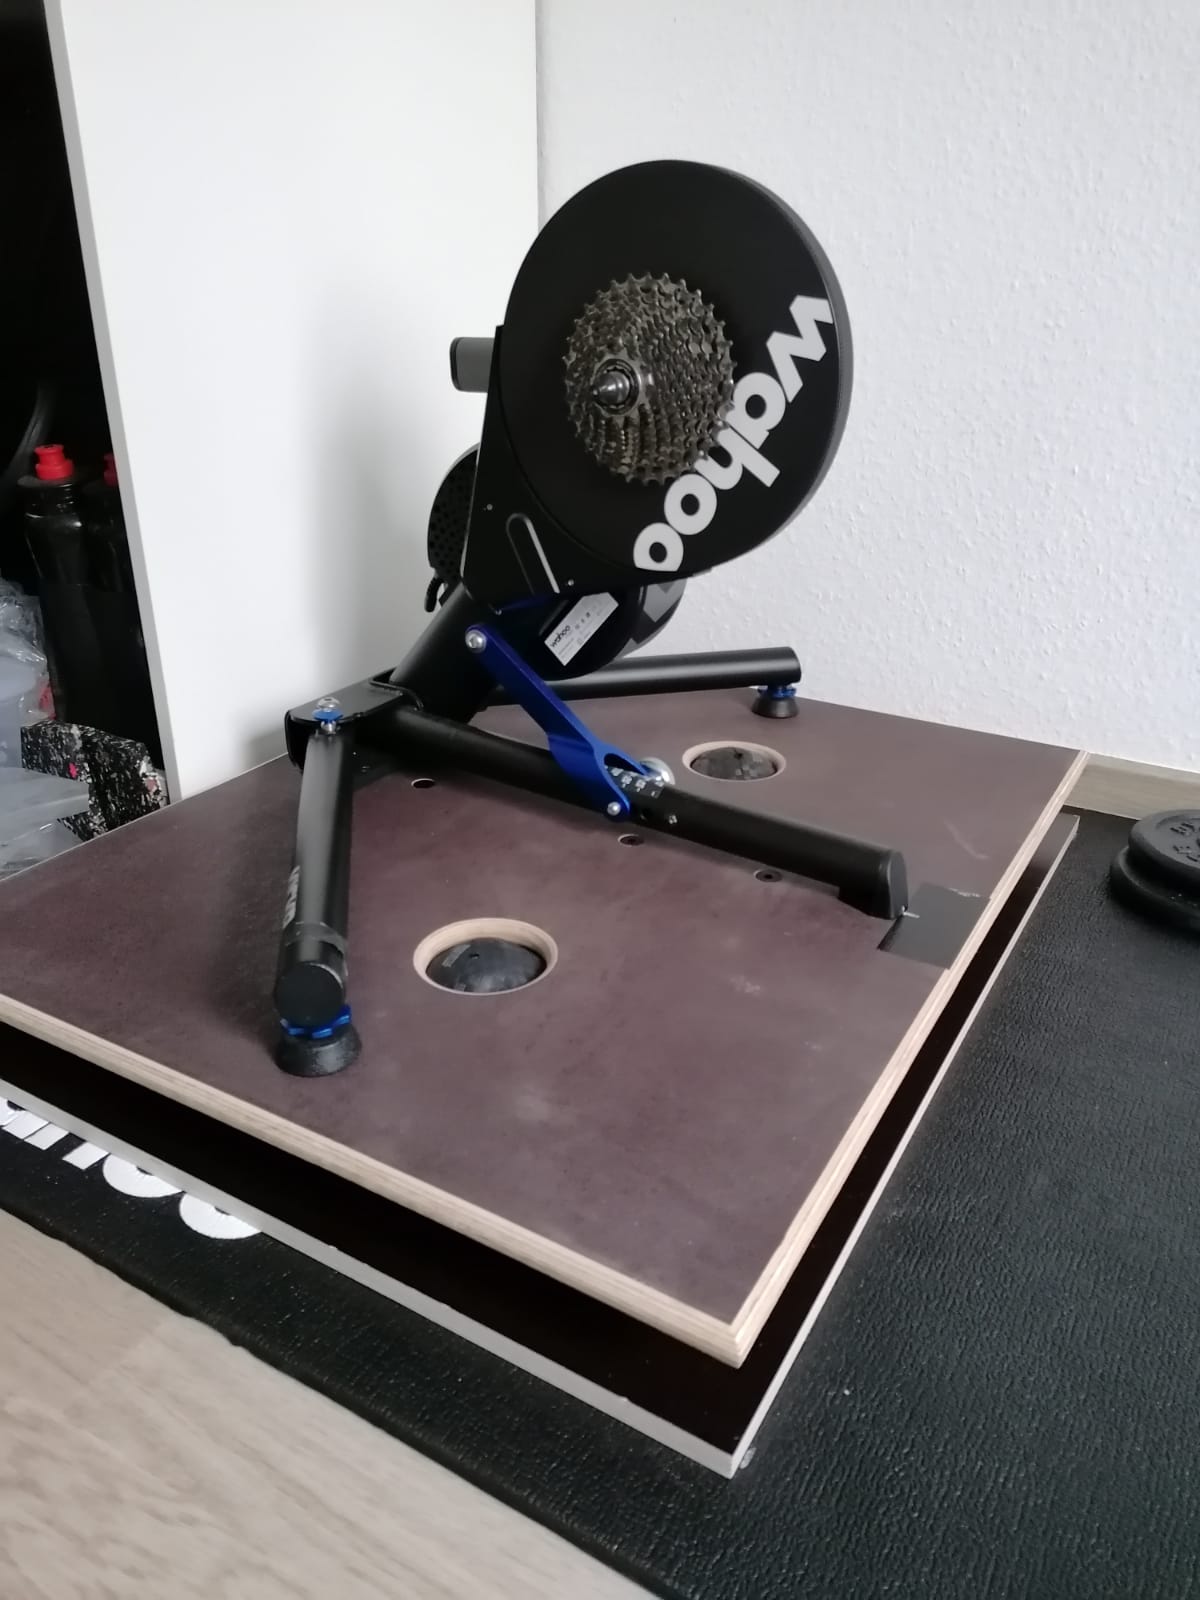
Now for the two circular cut-outs for the balls — we’re going with about 8cm diameter. That’s enough to comfortably reach the valve with a ball pump and to keep the balls from slipping once inflated. The horizontal position of the balls sits roughly at saddle height. No need to be typically German about it, i.e. just roughly 😉 In the sketch below I chose 50cm from the bottom edge. The lateral vertical distance to the edge is 20cm here — I placed the balls a bit further out to allow a slightly larger rotation radius. By the way, it’s enough to only cut out the ball holes in the top plate. Next up: the holes for mounting the rubber vibration isolators. The central one sits again at the rider’s center of gravity — exactly at ball height, 37.5cm from the bottom edge. The other two holes go 16cm from the top and bottom edges along the center/rotation axis. You can of course distribute all three isolators linearly, but placing the middle one at the rider’s center of gravity gives extra stability.
The Template
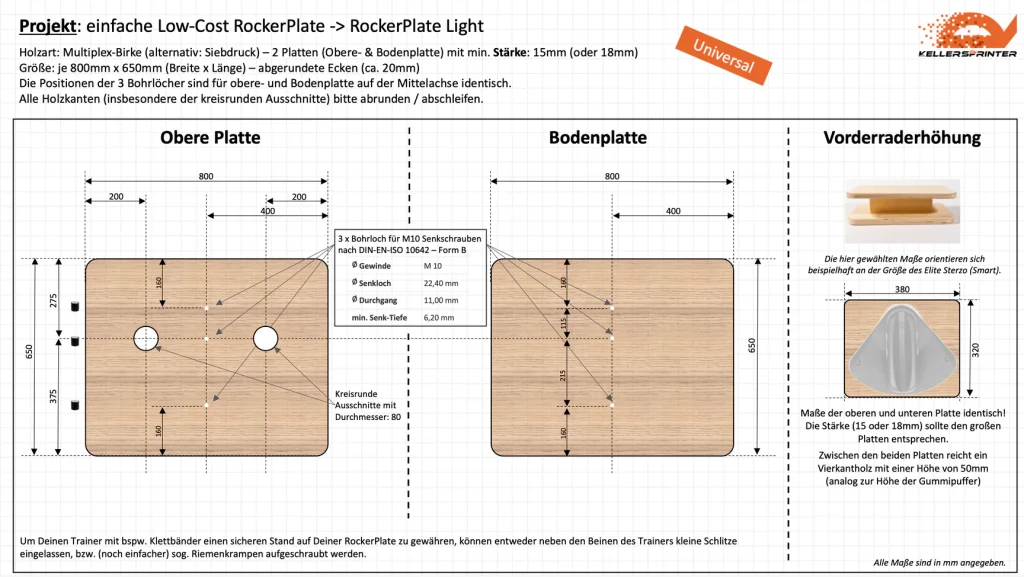
“Universal” template (80 cm x 65 cm) – Link to the sketch
New: We’ve also created a template for the Tacx Neo Bike (T8000.x), feel free to use it. If you own a Wahoo Kickr Bike, Kickr Shift, or the Zwift Ride, or really want to build a continuous rocker plate, this build guide will help:
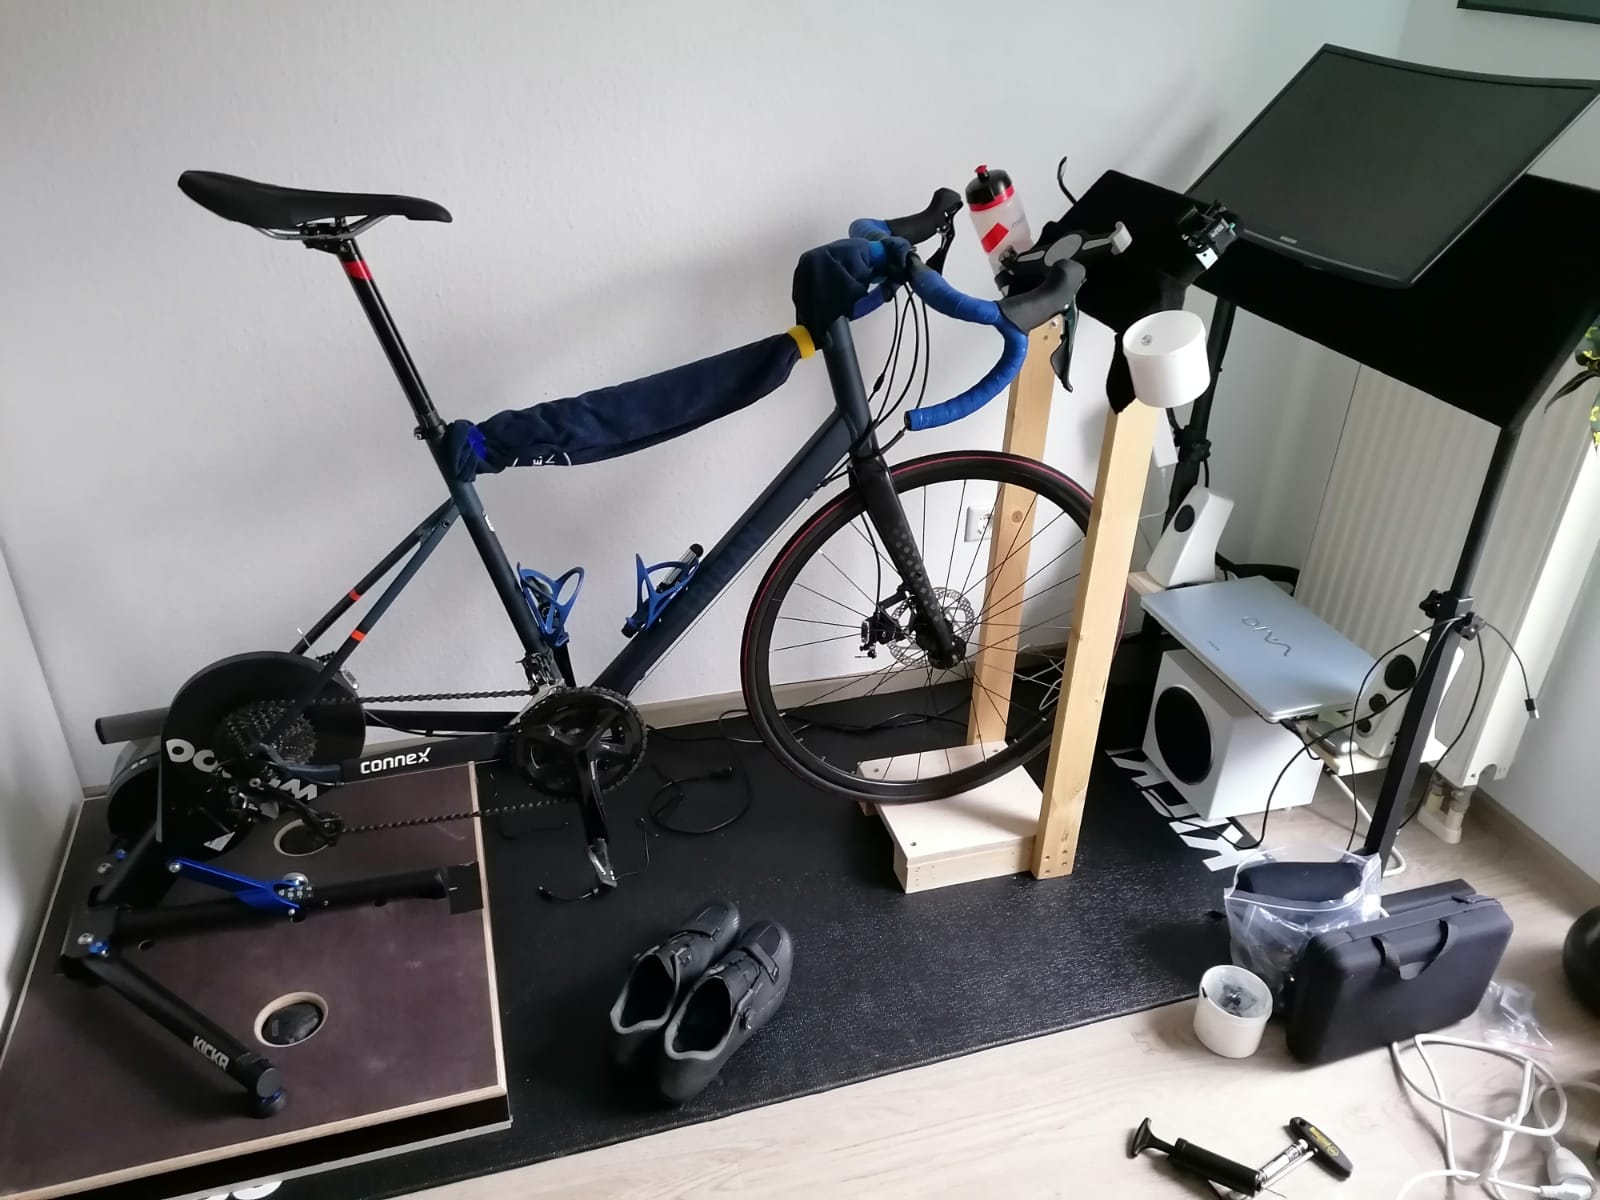
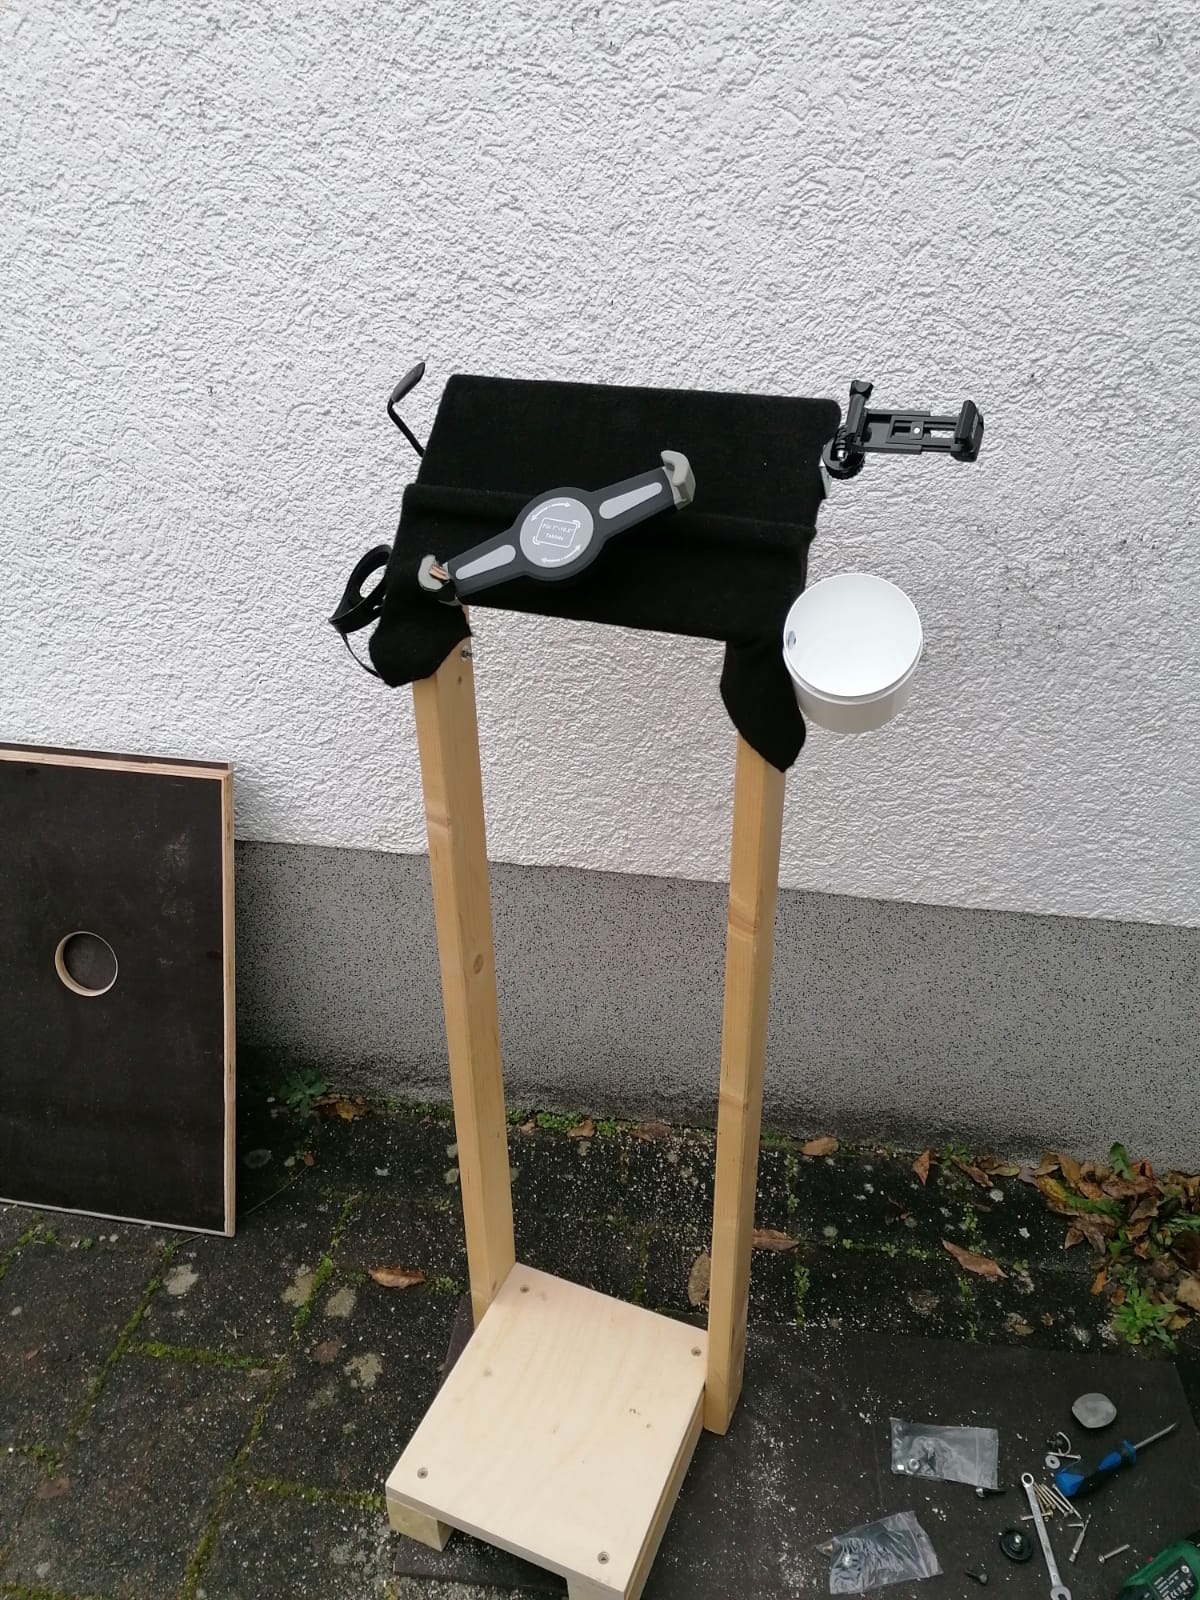
Before we get to painting the rocker plate, we still need a proper front wheel riser. The rocker plate has raised the whole setup (trainer + bike) by about 8cm. We need to offset that at the front. Easiest is to build a small wooden pedestal — all that matters is the 8cm height and, if needed, enough space for the front wheel or accessories like the Elite Sterzo (Smart), Elite Rizer, or Kickr Climb. The Elite Sterzo, for example, measures 34.5cm (width) x 28.5cm (length). So in that case the front wheel riser surface should be at least 35cm x 29cm. Otherwise, if only the front wheel goes on top, 20cm x 20cm is enough.
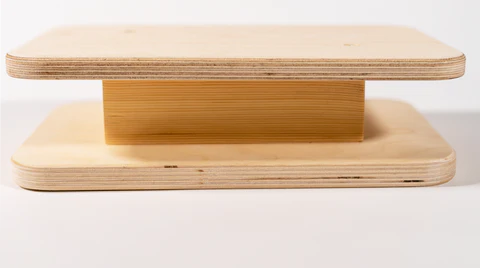
Simple front wheel riser: same wood as on the rear: 15mm plywood on the bottom, 18mm plywood on top, with a 5cm-tall wooden block (e.g. from squared timber) in between.
That’s it — at least the rough part. All that’s left now is the cosmetics: sand/round the edges and finish the surface to your taste, either with paint or a covering of your choice.
FINAL STEP
Place your trainer on your rocker plate, and align your bike — not the trainer (!) — straight and centered on the rotation axis (center axis). Mark the spots where you want to fix the trainer (e.g. parallel to the trainer’s legs), either via slots or more simply with strap clamps. Once you’ve cut the slots or screwed down the strap clamps, you can secure your trainer with hook-and-loop straps (from the hardware kit).
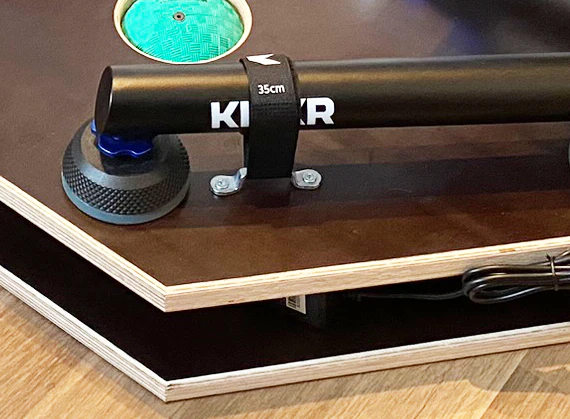
If you notice a kind of left-heaviness or leftward lean (in direction of travel) while riding on your rocker plate, despite balancing and adjusting the ball pressure (see above), we recommend placing a weight of about 5kg on the right side (next to the trainer/trainer leg). Some people use a simple 5kg weight plate for this. This offsets your indoor trainer’s flywheel weight more effectively than just increasing the left ball’s pressure, and it also spares the left ball.
Now have fun and: Ride On 😉
Note: The sketches we’ve created are examples and can serve anyone who wants to build their own rocker plate. Nothing more, nothing less. Commercial use is prohibited.
Share your results with us, show us your finished plates… Either by email to info (at) kellersprinter.de or with a tag on instagram @kellersprinter / #kellersprinter 😉
Generally we’d consider it a sign of respect to credit the source when posting your pics on facebook & co. 😉 Thanks!
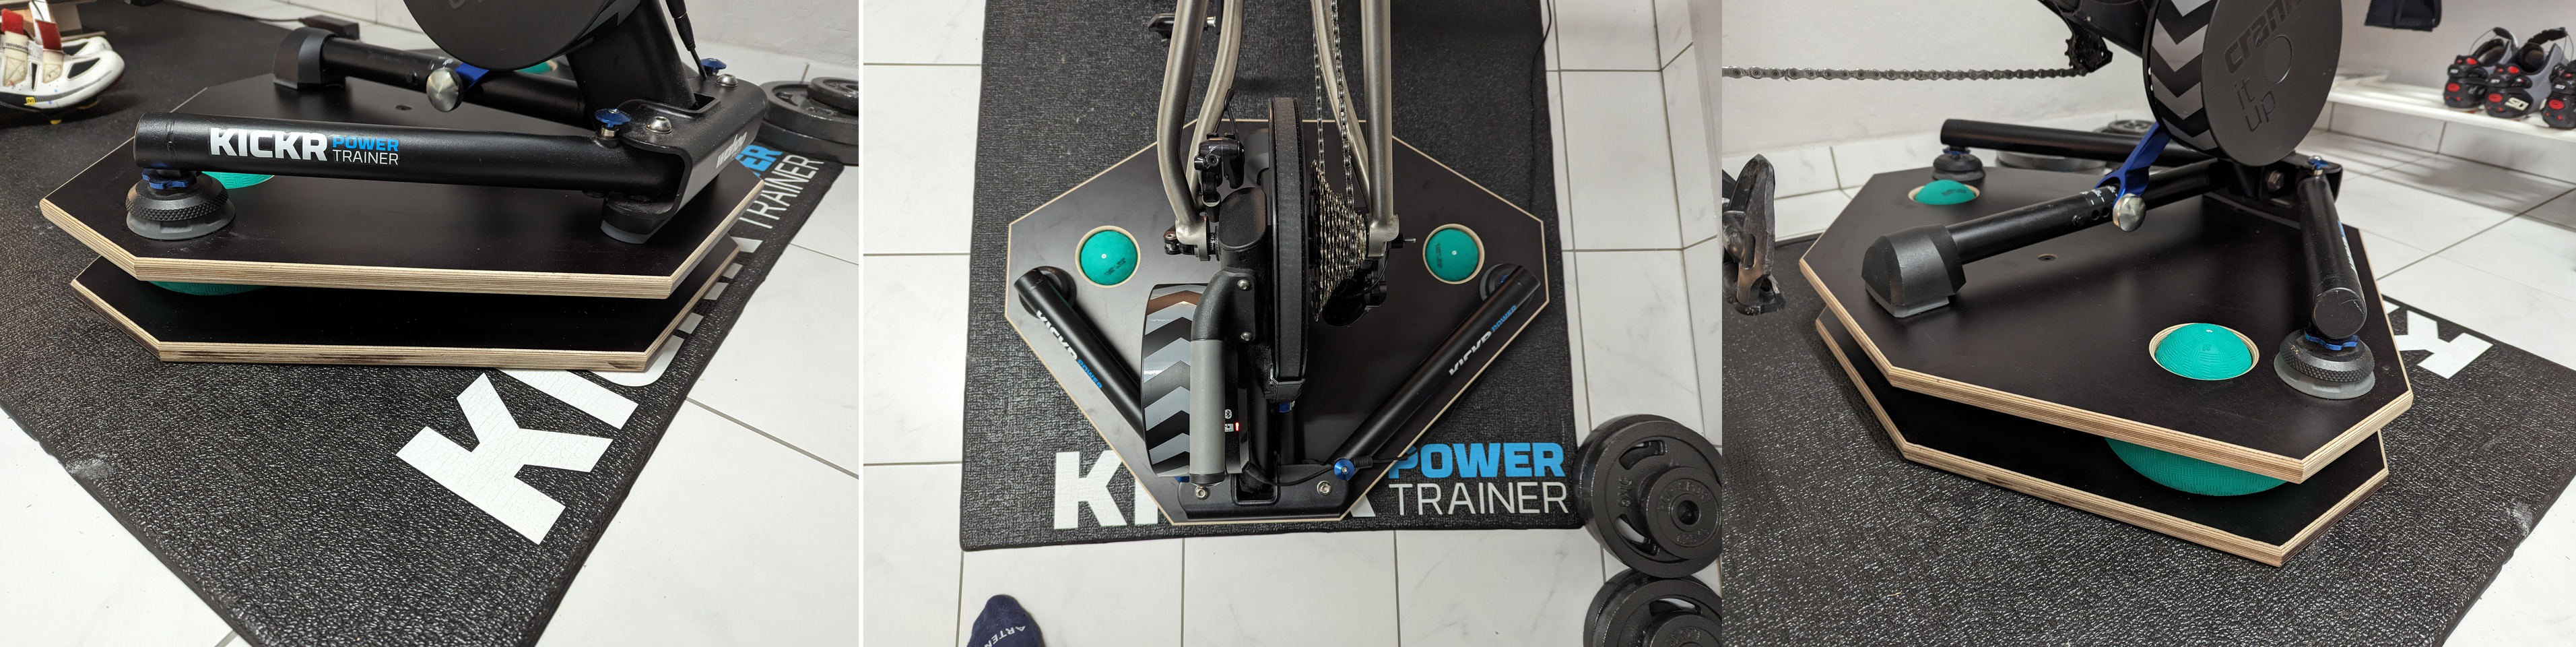
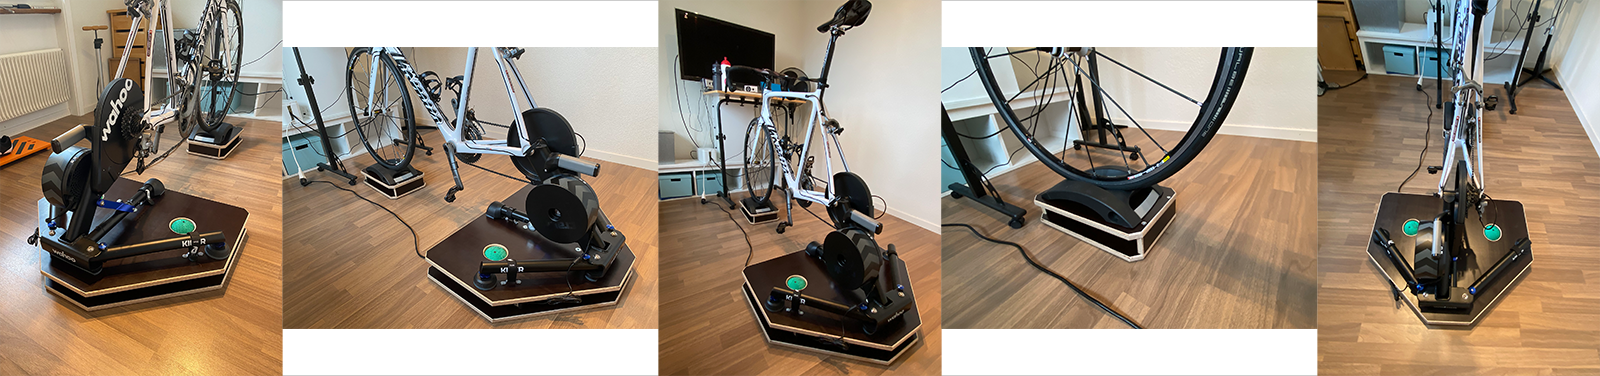
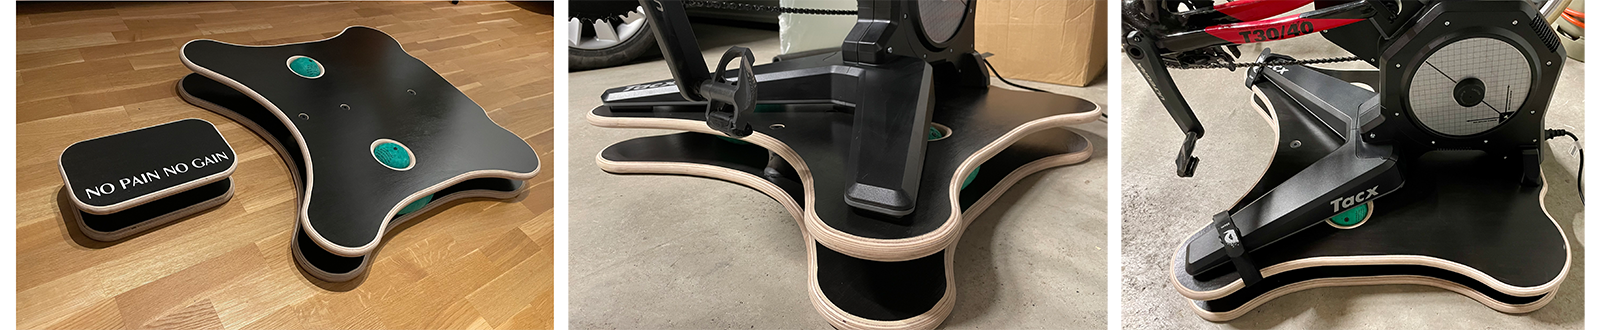
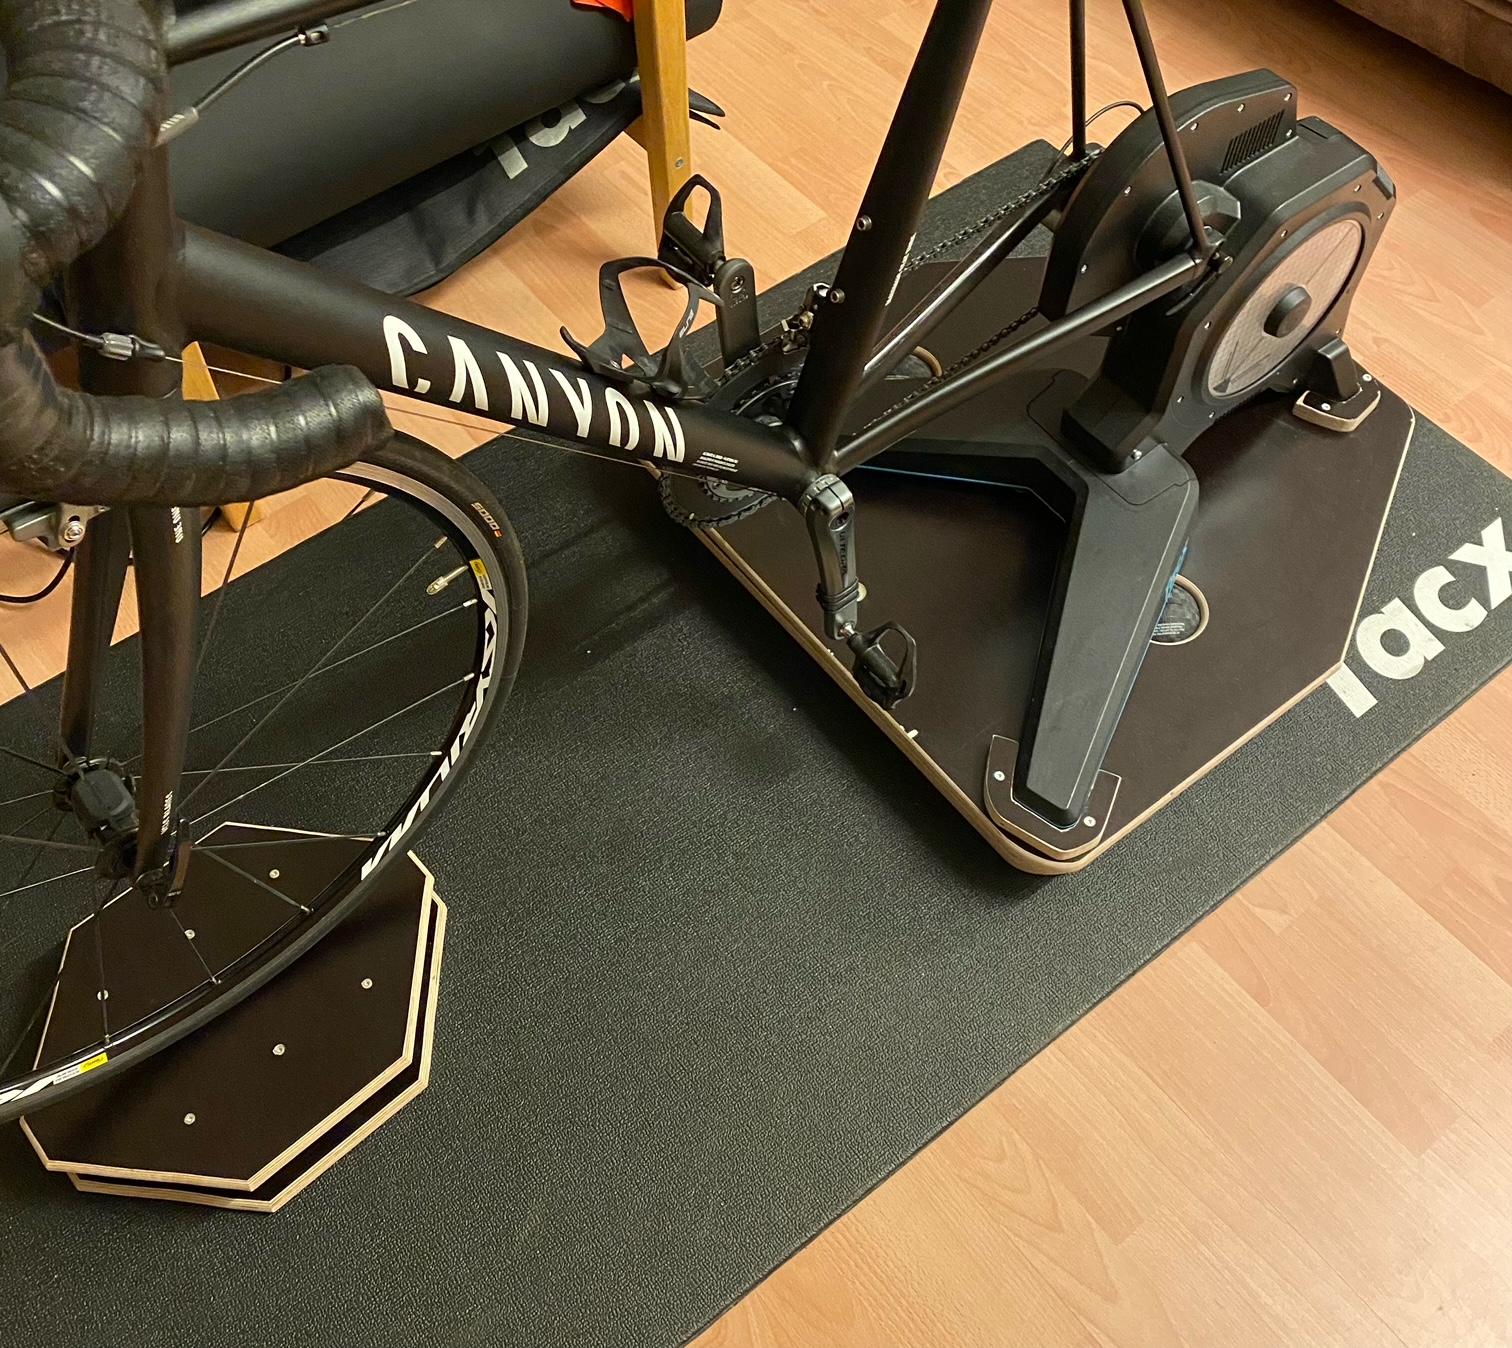
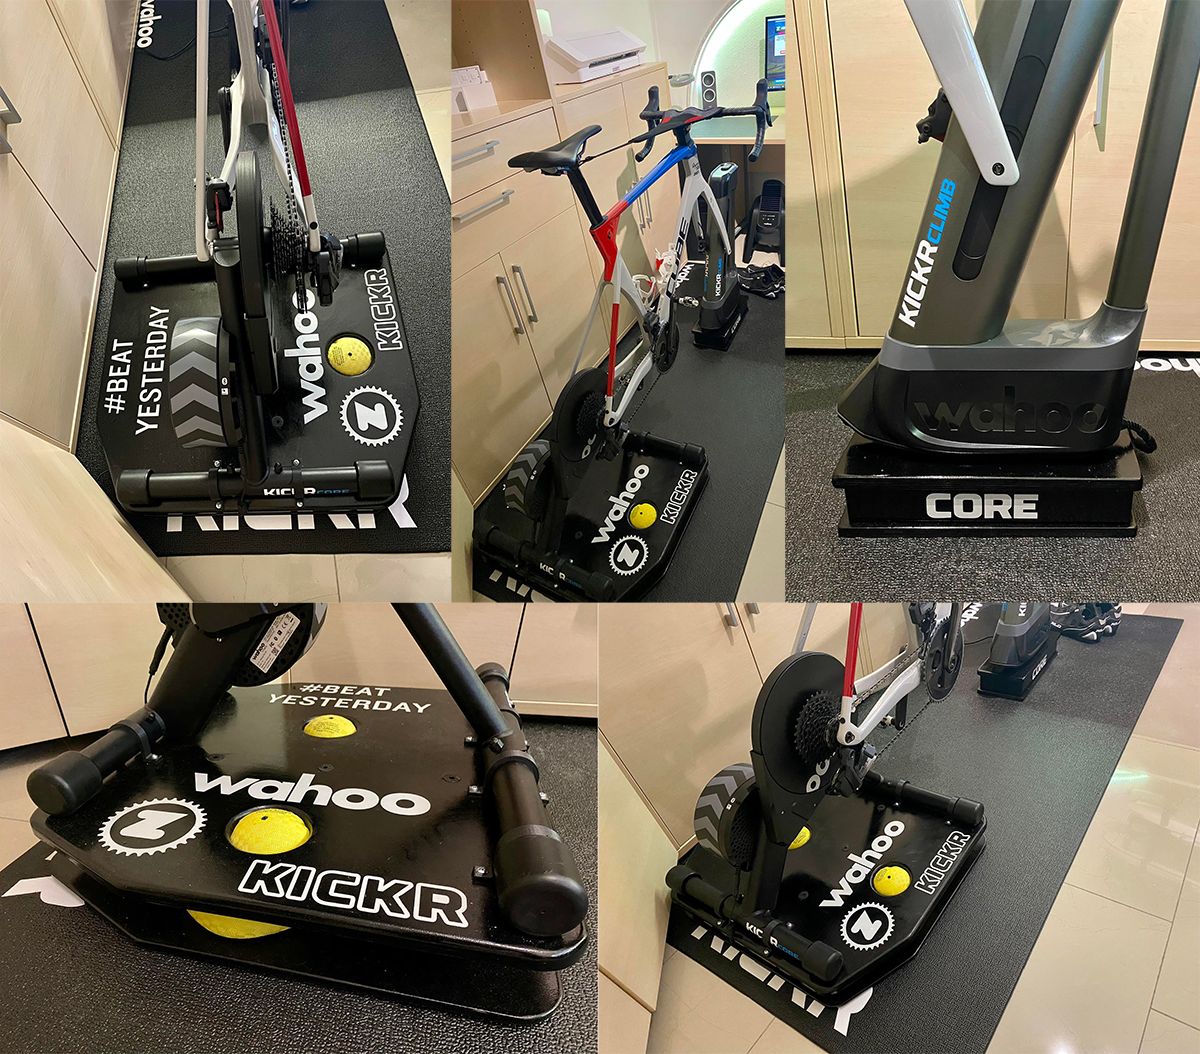
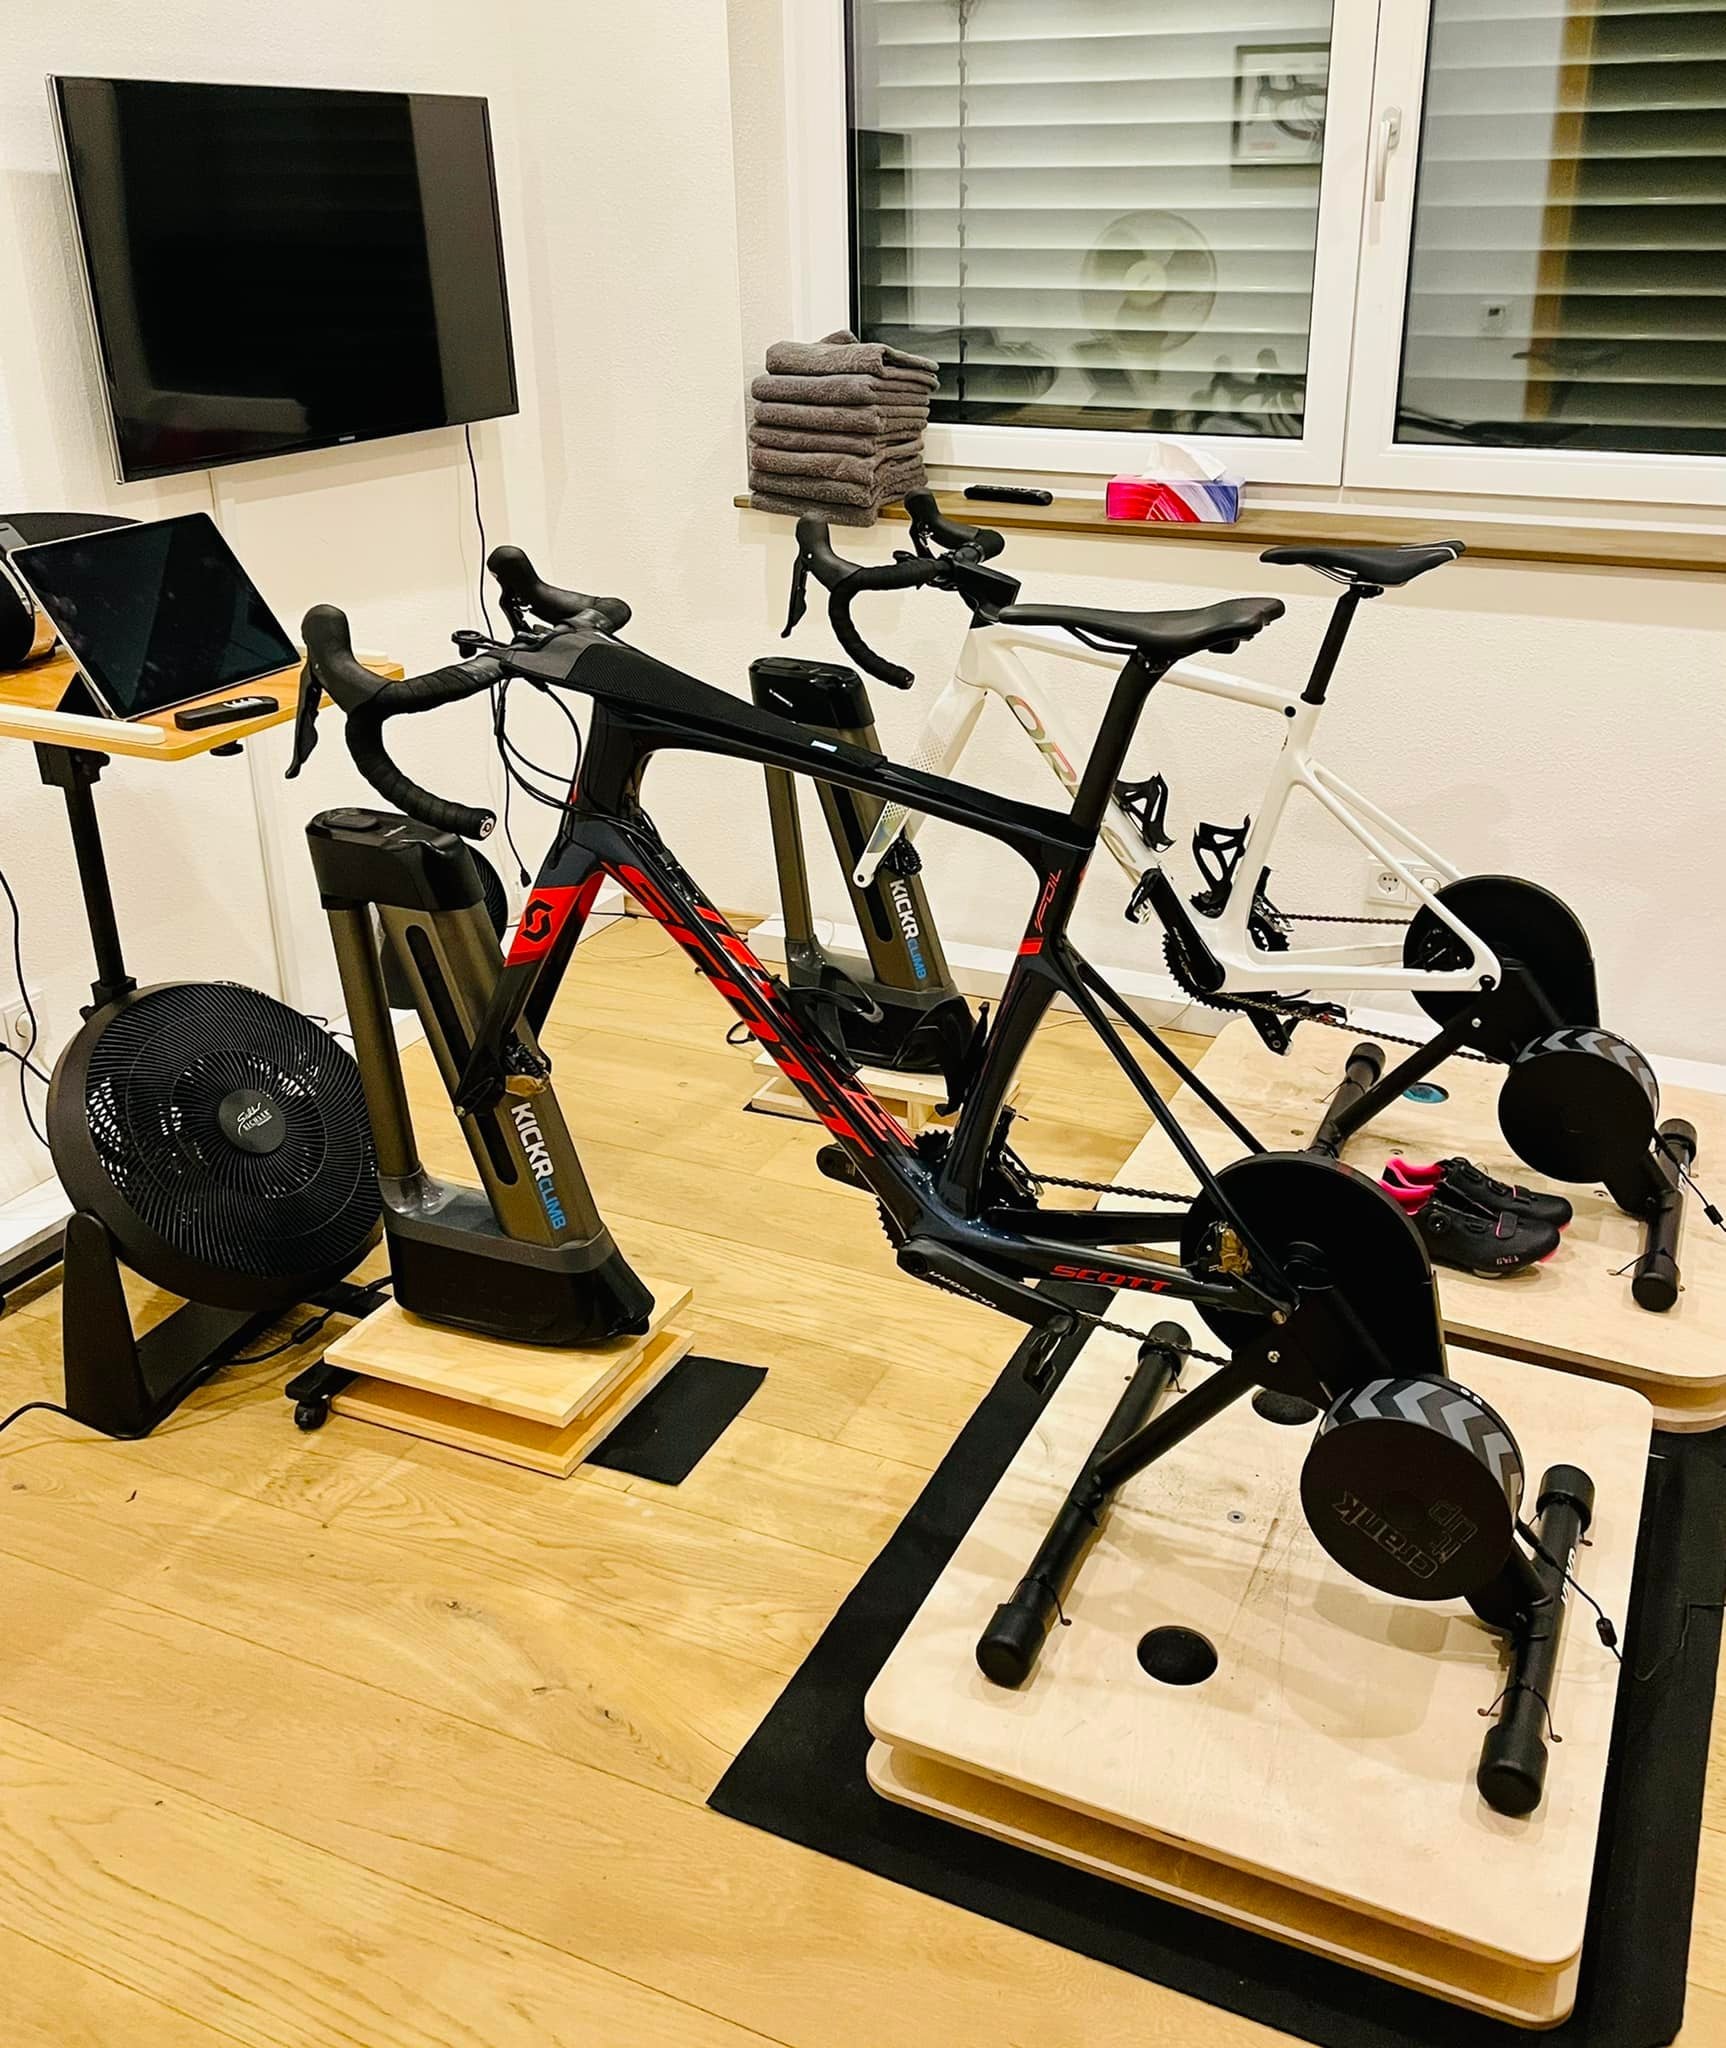
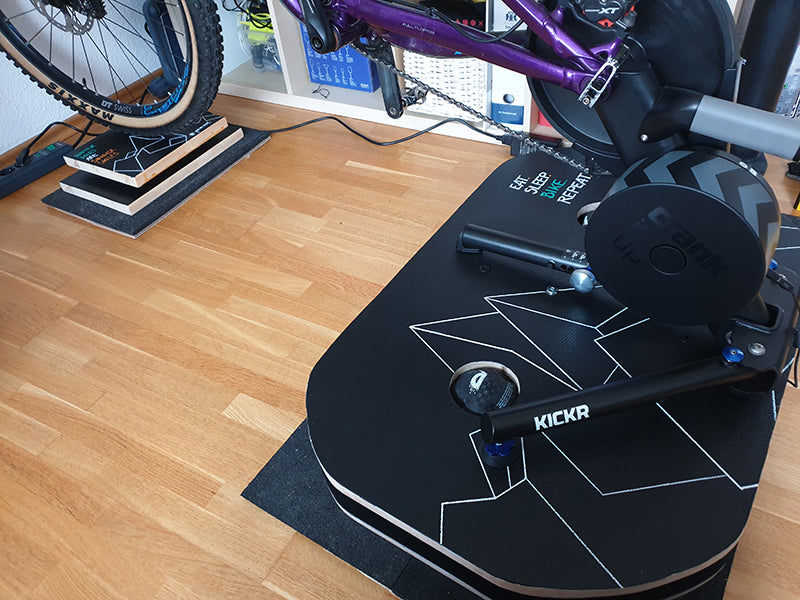
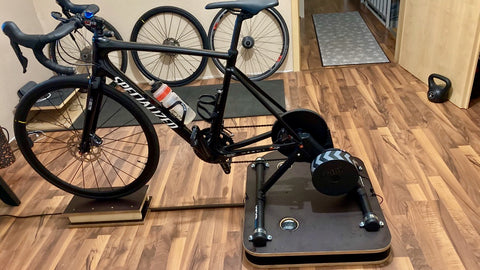
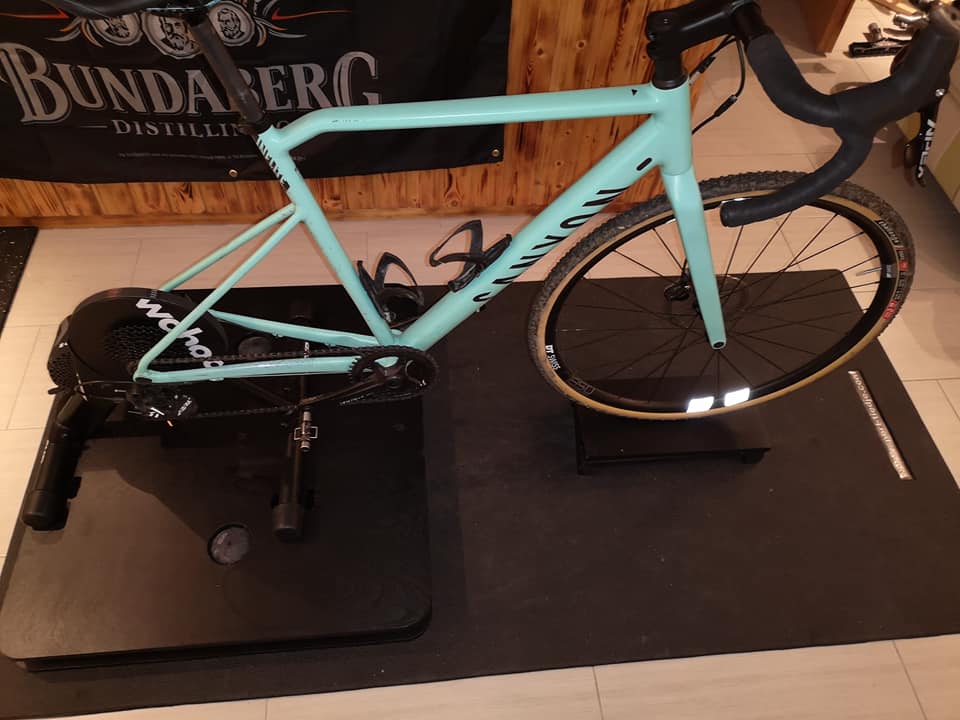
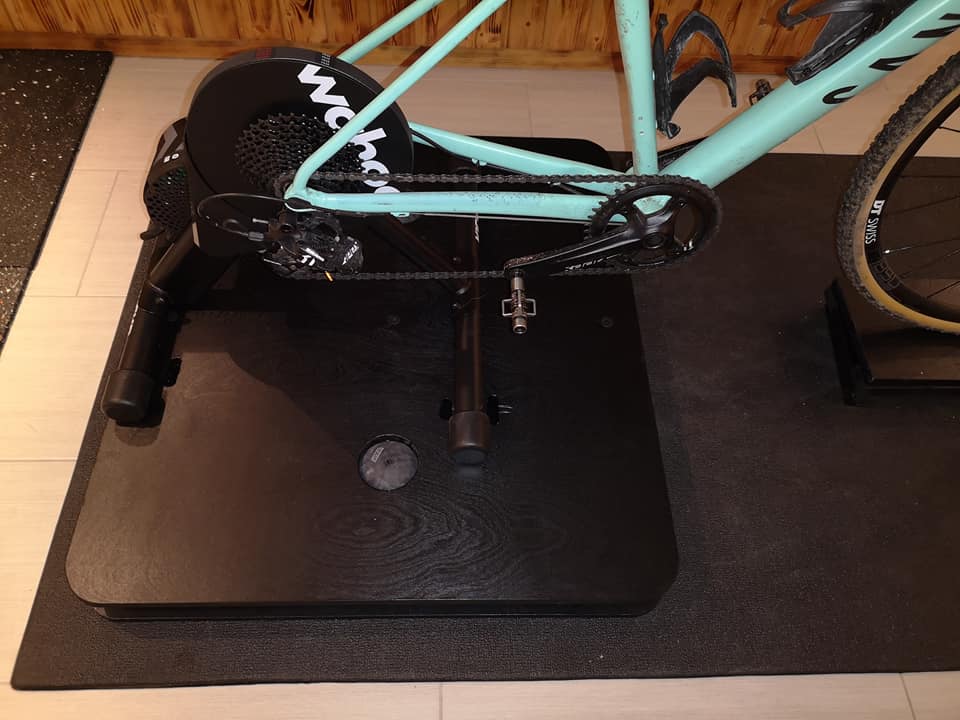
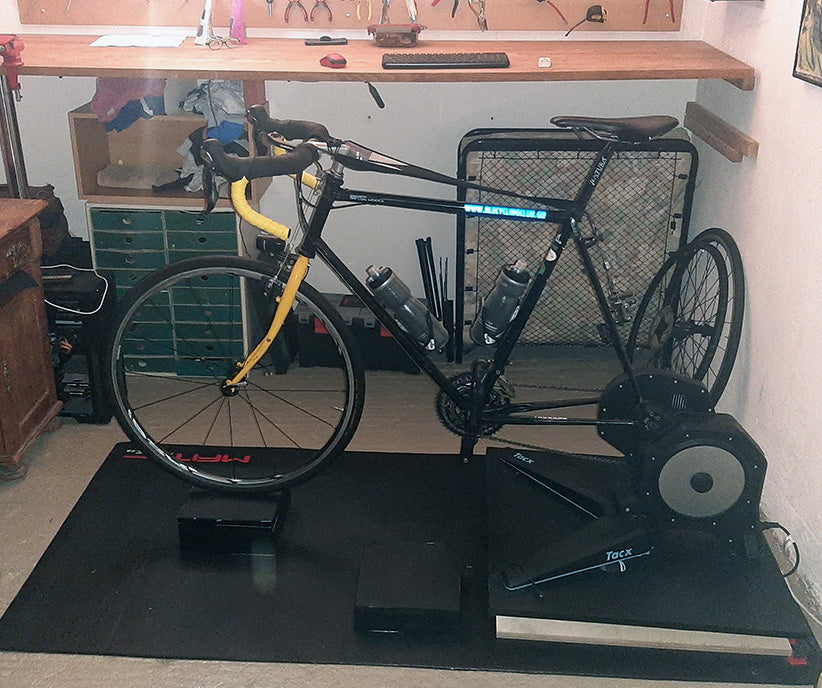
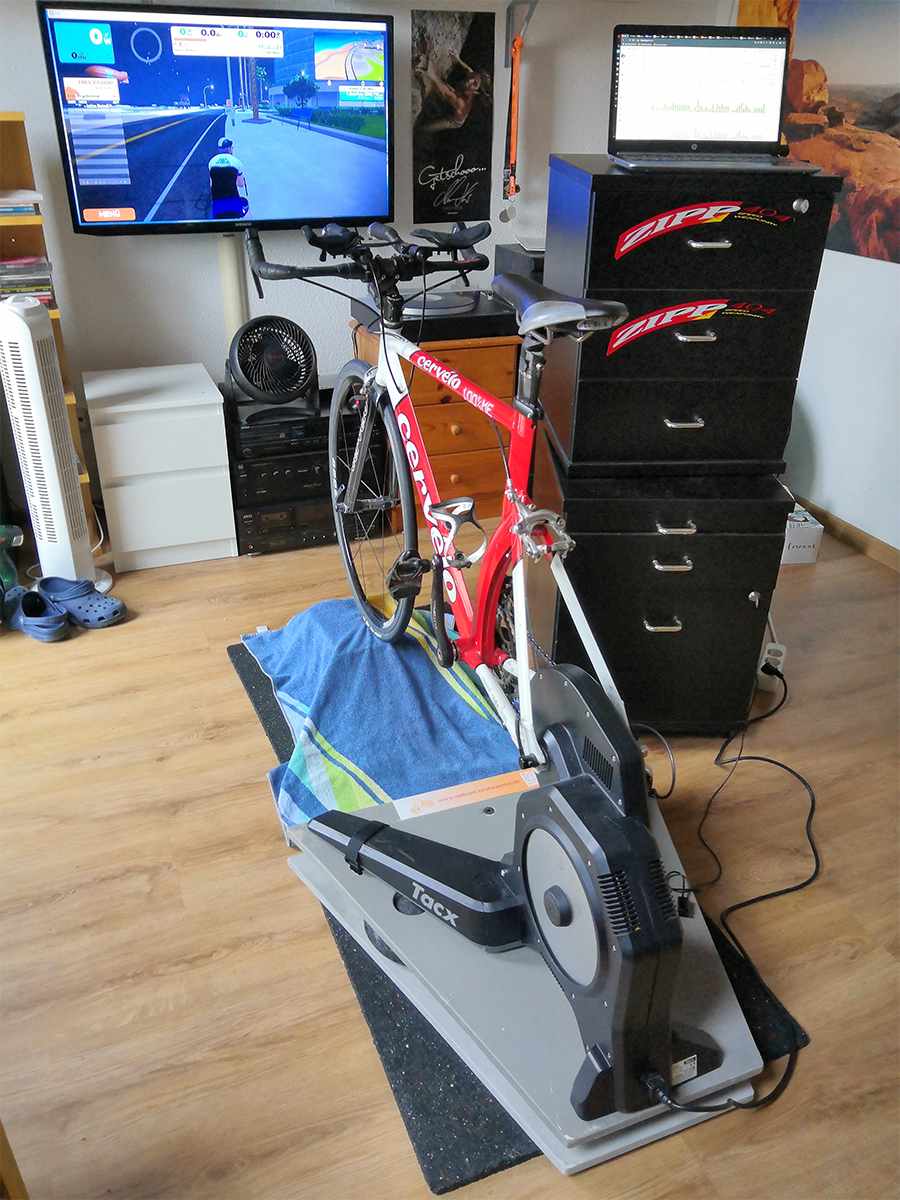
Pick your smart trainer and discover how the community built theirs.
Select a trainer to browse the photos.
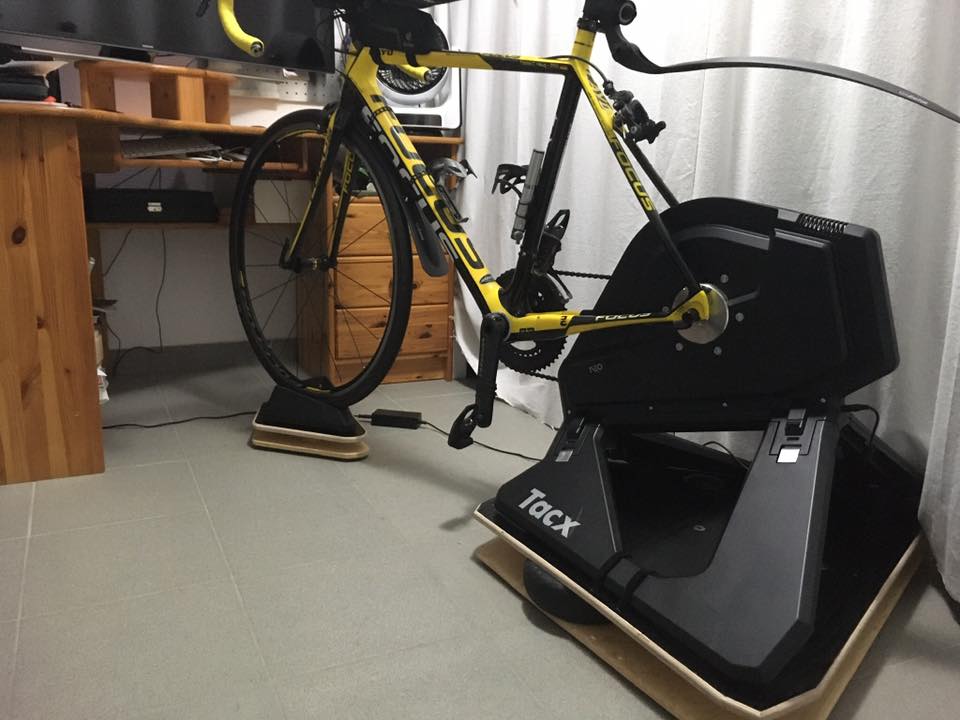
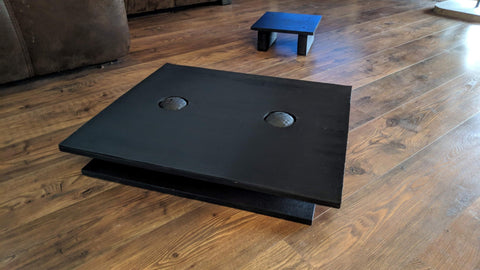
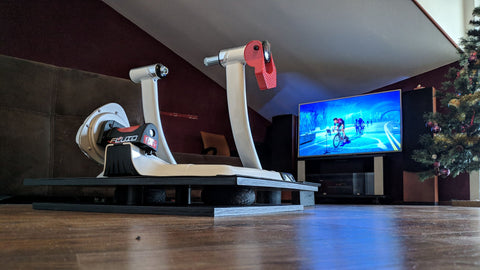
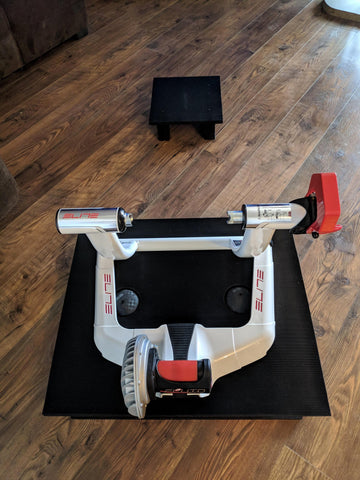
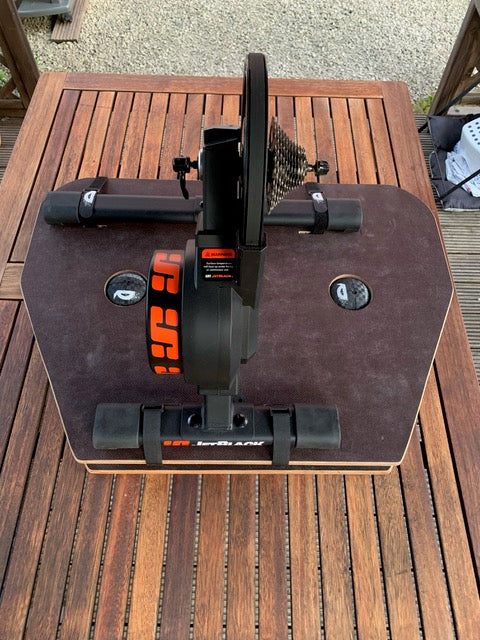
Share Your Own Build!
Built a rocker plate? Upload your masterpiece to the community gallery and inspire fellow indoor riders.
🎉 Thanks! Your build has been received.
We'll review it shortly and add it to the gallery.
Related posts
-
Die besten eCycling Apps im Überblick
-
Smarttrainer & Smartbikes: Der große Wartungs-Guide
Ob Wahoo Kickr, Tacx Neo Bike oder Zwift Ride – so pflegst du dein Indoor-Setup richtig und verhinderst Knarzen, Rost und teure Defekte.
-
SprintBoard oder Rockerplate? Was ist das?
Warum eine Rockerplate das Indoor-Cycling revolutioniert, wie sie funktioniert und was der Unterschied zum SprintBoard ist.
Community comments (4) — show